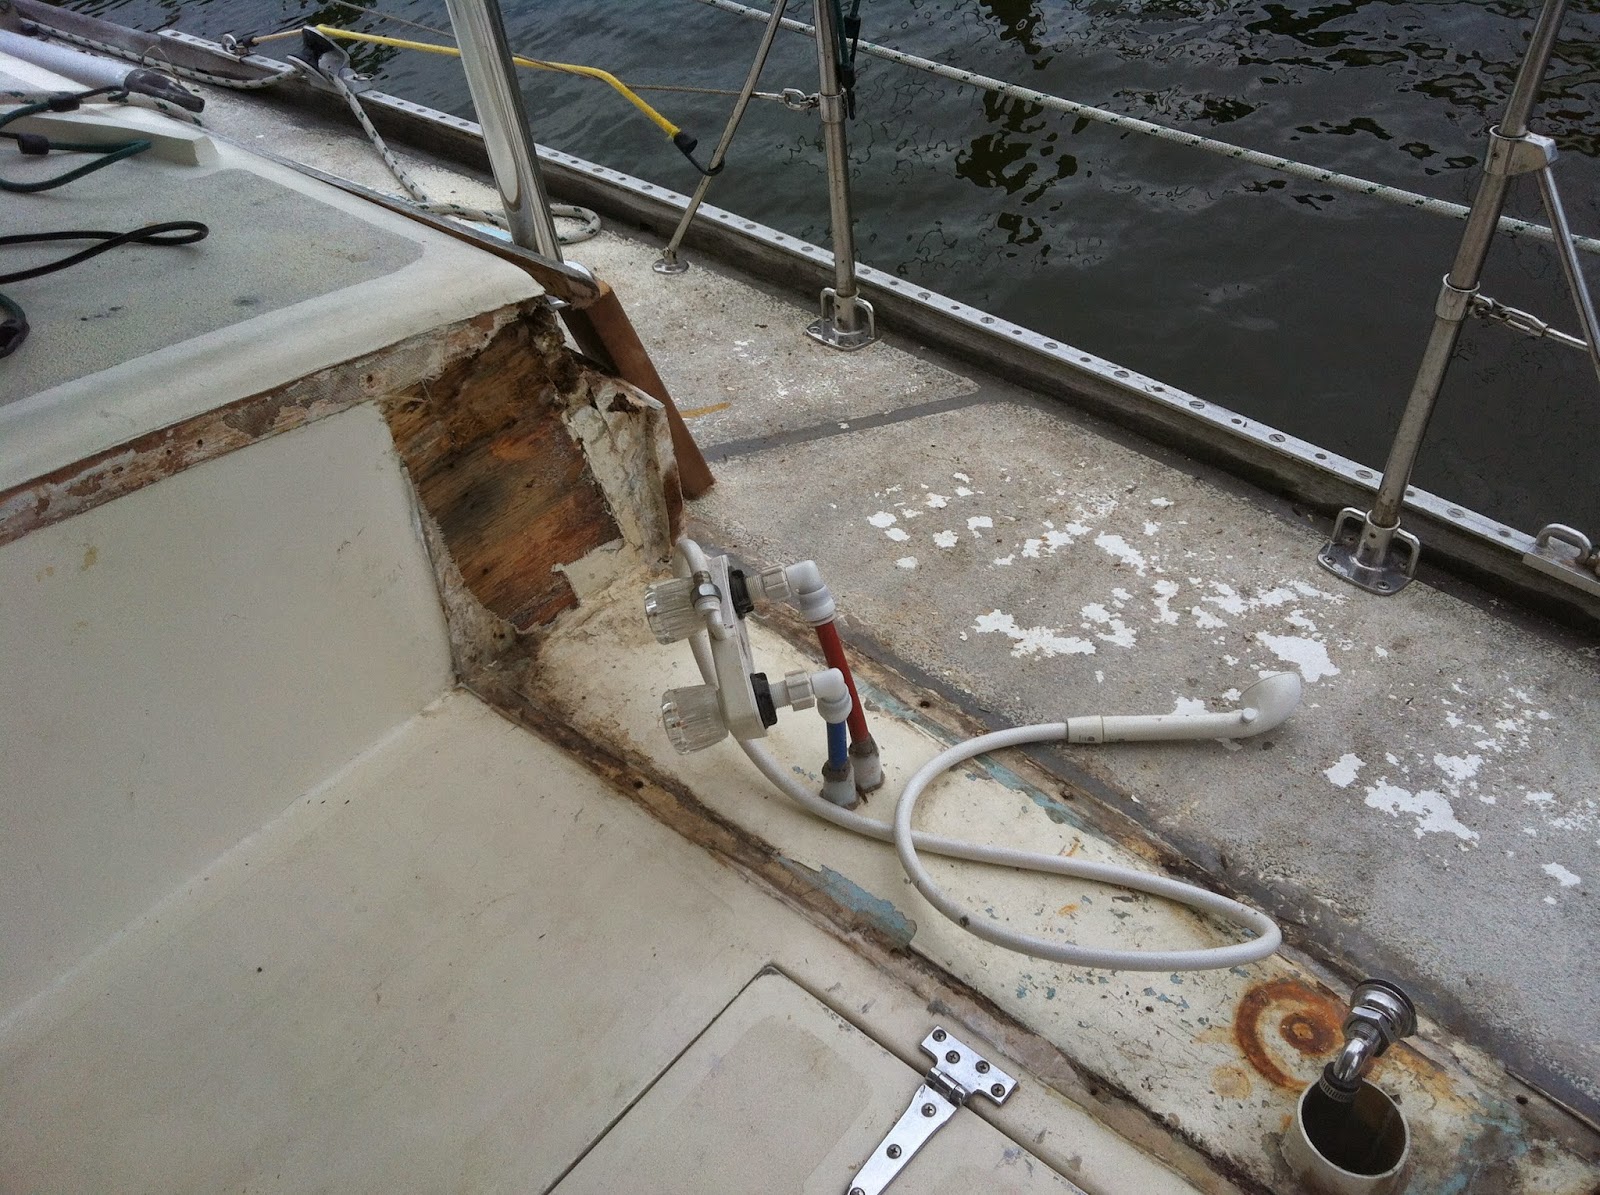
I'll remove the inside trim, the eyebrows, the coaming boxes, unbolt two of the bimini frame legs, remove fuel tank vent lines, cockpit shower plumbing, lazarette drains, and winch base fasteners to access the cabin corner.
June 38, 29, July 8, and 9th
The eyebrows were mounted with 2 ss screws every 6 inches - AND polysulphide..... ?!@#$%

Removing the inside trim using putty knives to minimize damage, and a chisel as a wedge to pry out the copper nails from the teak.
The coaming box will have to be removed to access the corner - and it needs to be replaced. Two legs from the bimini frame mount on top of the coaming box, so they will have to be unbolted and propped up.
Remove all of the teak bungs and the #12 x 1-1/2 bronze fasteners..

The cockpit and lazarette drains are an abomination. Multiple materials, sizes, reducers, and all 90 degree corners all add up to no drainage. Rip all of that out, and cut out the rotten gutters.

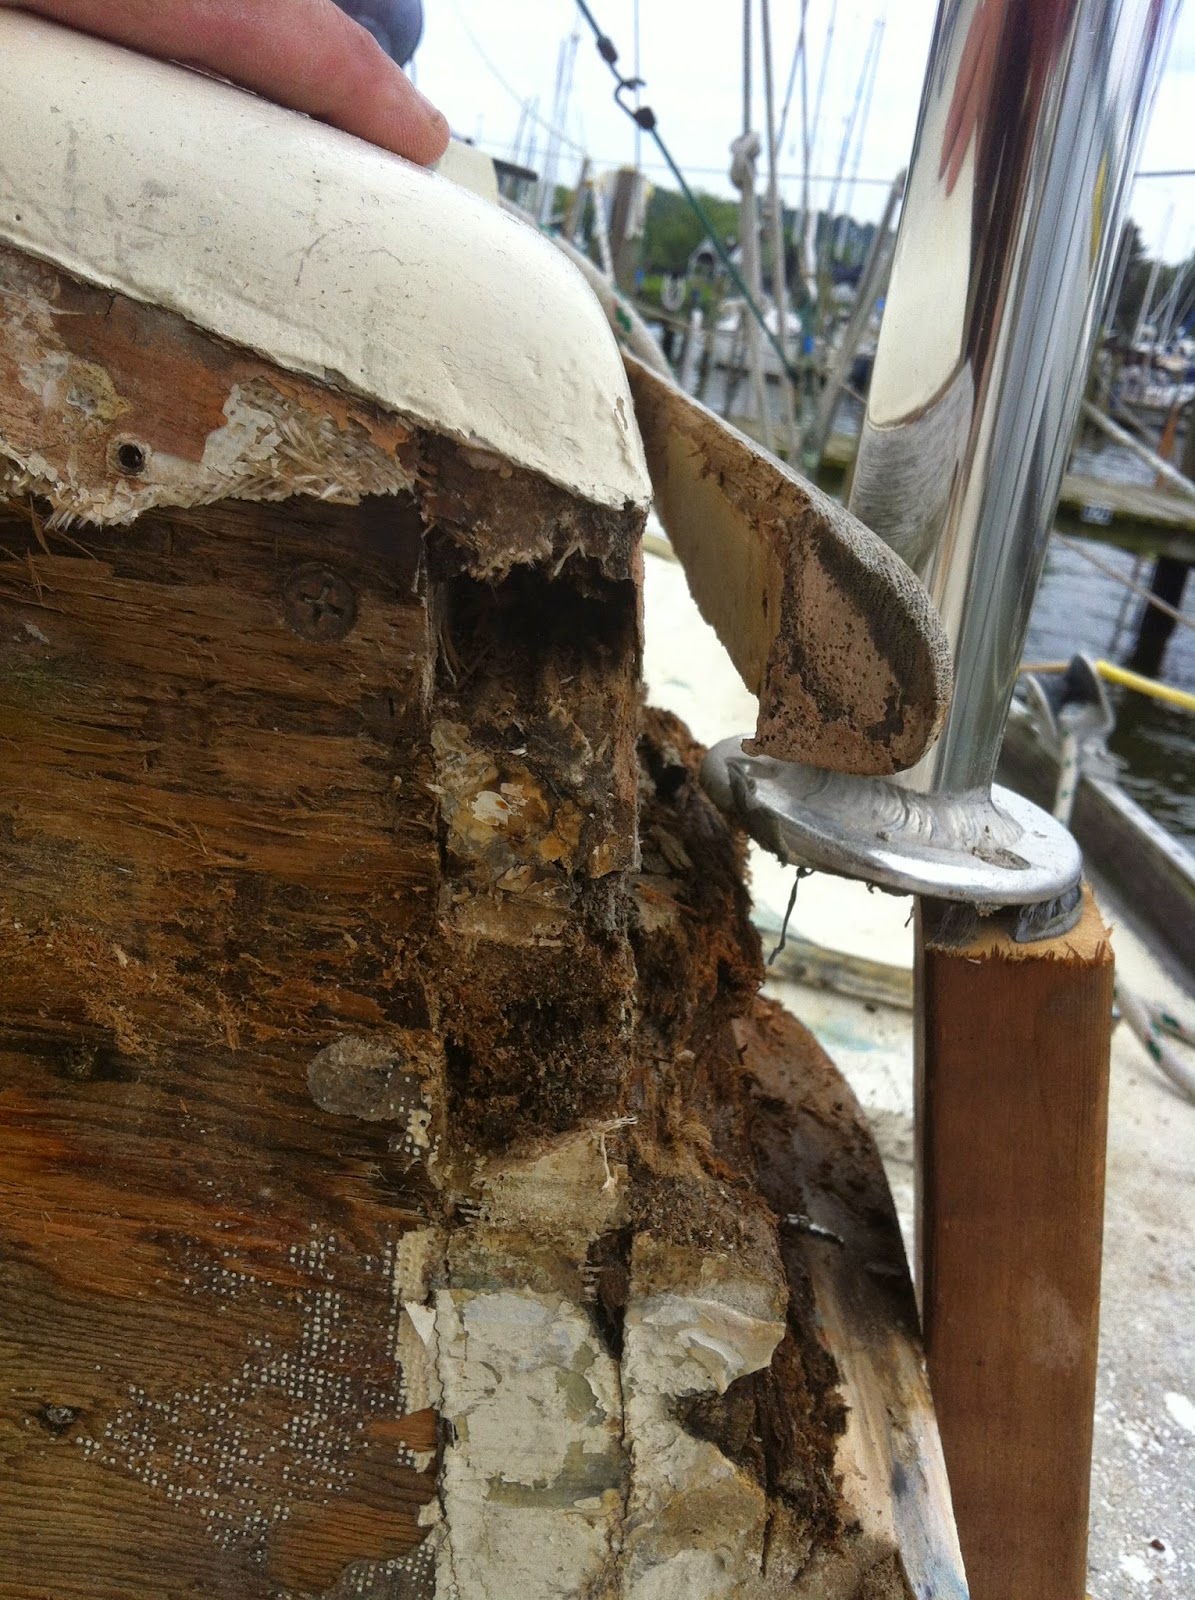
The coaming boards are fastened to these blocks which are fastened to the cabin bulkhead. Note the icepick.
Cut out the inside board
And here's the corner of the aft cabin. ..... Looks like we'll have to patch the bulkhead and the starboard wall, maybe the roof a bit, replace the corner post and the nailer boards inside. The cabin wall is 1-1/4" mahogany, it looks like the fairing blocks are 2 more pieces laminated together and shaped.
There are nice architectural fairing blocks on the fwd and aft corner of the outboard coaming board. Ours were so rotten its hard to tell whats what. Luckily, Eric and Jackie on D41 Compass Rose posted some nice picks of theirs when they repaired one of his cabin corners. They look like this.
 |
| Compass Rose fwd cabin aft port corner |
 |
| Compass Rose aft cabin port fwd corner |


No comments:
Post a Comment